- A simple Facebook Messenger Chatbot using Messenger Platform (Node.js)
- Test this bot (this project) now : https://my-fb-bot-messenger.herokuapp.com/

- Clone this repository
npm installto install node.js in CMD / Terminal- Make a new file .env
- Setup the mongo database.
In the .env file :
- MONGODB_URI =
Filling these variable depends upon the steps below.
- Firstly, you have to sign up for an account here. Then, from the left panel select the option "Clusters", click the button "Create a New Cluster", which should be near the top right corner, and fill the required details.
After that, we need to create a collection inside a database. In the panel of newly created cluster it's a button named "Collections". Click on it. We then click on the button "+ Create Database" and fill the required details. In my case, "DATABASE NAME" is "MessengerBot" (same name as the cluster) and "COLLECTION NAME" is "messages". The given database name is the "DB_NAME" variable from the .env file and given collection name is the "DB_COLLECTION" variable.
In order to connect to the database, you need to set up a user who has database access. From the left panel select "Database Access", then click the button "+ ADD NEW DATABASE USER" near the top right corner. I would suggest going with "Password" for "Authentication Method" and "Read and write to any database" for the "Database User Privileges". The username and password set for "Password Authentication" are the .env variables "MONGO_DB_USER" and "MONGO_DB_PASSWORD".
- Secondly, you have to connect your cluster to your application. Click the "Connect" button, which is inside your cluster panel, and click "Connect your application".
After that, you should see the connection string which is under "Add your connection string into your application code". You have to replace with the password set for the database user and with the name of the database that connections will use by default. In my case, "dbname" is "MessengerBot". The connection string that you have right now is the DB_CONNECTION from the .env file. Until here you have filled the 3 required variables, but there is one more thing to do.
- Final step: from the left panel select "Network Access". Then click the button "+ ADD IP ADDRESS" near the top right corner. Depending on the security you want you can choose to manually add all the IP addresses you will be connecting with to the DB or you can choose to connect from everywhere, regarding the used IP address.
- To get .env variables for these:
- MY_VERIFY_FB_TOKEN=
- FB_PAGE_TOKEN=
- PAGE_ID=
- Guide to setup Facebook Webhook: https://developers.facebook.com/docs/messenger-platform/getting-started/webhook-setup
- Guide to setup Facebook App : https://developers.facebook.com/docs/messenger-platform/getting-started/app-setup
npm start to run project
- Open localhost://8080 on your browser to view the application.
- Note: The facebook chatbot plugin wont work with localhost, it has to be deployed to a live server (heroku) to access the facebook webhook.
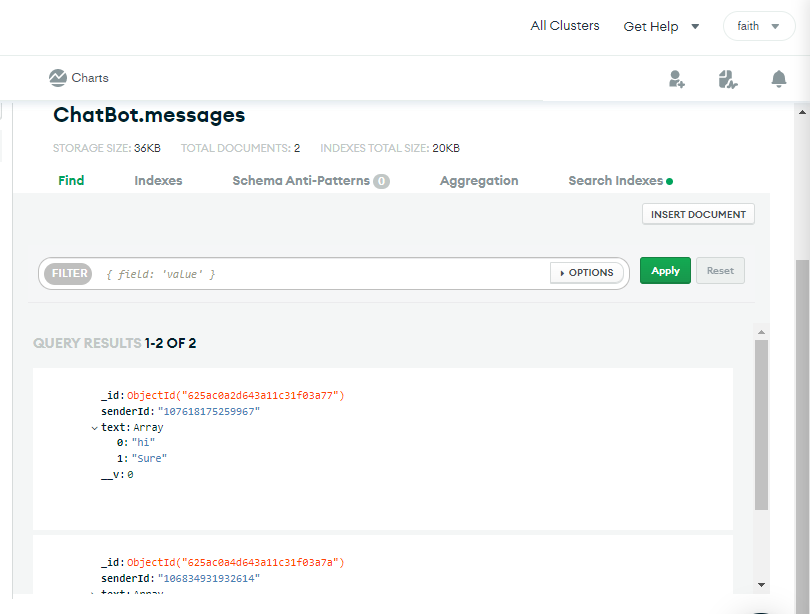
All the messages received from users are stored in a MongoDB database. Each website visitor has an unique id assigned on commencement of a Messenger conversation, making the storage of messages structured in an easy way.
- Deploy app to Heroku ( need to setup dev dependencies:
heroku config:set NPM_CONFIG_PRODUCTION=false) - Config env variables (setup dev dependencies)