


Proxmox VE inside a Docker container.
- Runs a full Proxmox VE node inside Docker
- Provides the familiar Proxmox web interface
- Supports fast KVM-accelerated virtual machines
- Supports LXC containers out of the box
- Includes a pre-configured NAT bridge with DHCP
- Supports ARM64 systems through PXVIRT
services:
  proxmox:
    hostname: pve
    image: dockurr/proxmox
    container_name: proxmox
    environment:
      PASSWORD: "root"
    ports:
      - 8006:8006
    volumes:
      - ./data:/var/lib/vz
      - ./config:/var/lib/pve-cluster
    restart: always
    privileged: true
stop_grace_period: 2mdocker run -it --rm --name proxmox --hostname pve --privileged -e "PASSWORD=root" -p 8006:8006 -v "${PWD:-.}/data:/var/lib/vz" -v "${PWD:-.}/config:/var/lib/pve-cluster" --stop-timeout 120 docker.io/dockurr/proxmox

- Docker or Podman on a Linux host with KVM support.
- Docker Desktop or Podman (Desktop) on Windows 11 with nested virtualization enabled.
- At least 2 GB of available RAM.
- At least 32 GB of free disk space.
Note
Docker Desktop on Linux, macOS, and Windows 10 does not currently provide KVM access to containers and is therefore not supported.
Very simple! These are the steps:
-
Start the container and connect to port 8006 using your web browser.
-
Login using the username
rootand the password you specified in thePASSWORDenvironment variable.
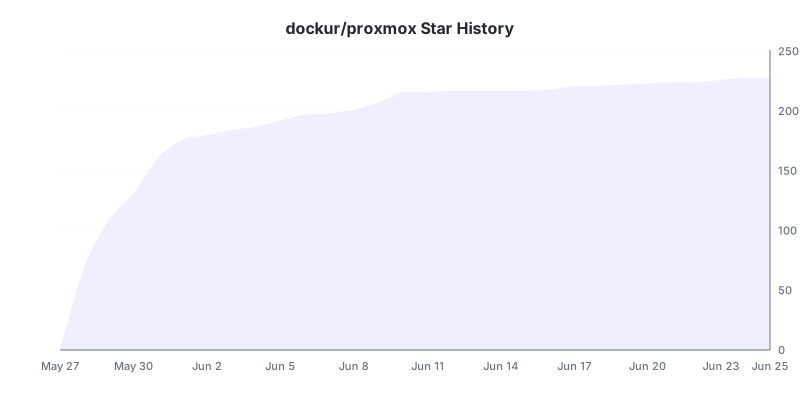
Enjoy your time with your brand new Proxmox VE installation, and don't forget to star this repo!
To change the location for the local storage pool used by Proxmox to store large objects like disk images and .iso files, include the following bind mount in your compose file:
volumes:
  - ./data:/var/lib/vz
Replace the example path ./data with the desired storage folder or named volume.
To change the location of your Proxmox VE configuration data, include the following bind mount in your compose file:
volumes:
  - ./config:/var/lib/pve-cluster
Replace the example path ./config with the desired storage folder or named volume.
Yes, see our Proxmox Backup Server, Proxmox Datacenter Manager and Proxmox Mail Gateway containers.
First, make sure your platform and container runtime meet the requirements listed above.
On a Linux host, install cpu-checker and run:
sudo apt install cpu-checker
sudo kvm-ok
A working configuration should report:
KVM acceleration can be used
You can also verify that the KVM device exists:
ls -l /dev/kvmIf KVM is unavailable, check whether:
- Hardware virtualization (
Intel VT-xorAMD-V) is enabled in your BIOS or UEFI. - Nested virtualization is enabled when the host itself is a virtual machine.
- Your VPS or cloud provider supports nested virtualization.
If kvm-ok succeeds but the container still reports that KVM is unavailable, you can temporarily add privileged: true to your Compose file to rule out a permission or device-access issue.
Special thanks to rtedpro-cpu and LongQT-sea, this project would not exist without their invaluable work.
The product names, logos, brands, and other trademarks referred to within this project are the property of their respective trademark holders. This project is not affiliated, sponsored, or endorsed by Proxmox Server Solutions GmbH.