Two ways to utilize the project
- Simple way
a. Run the below command in your terminal (I am ubuntu user, hence sudo!)
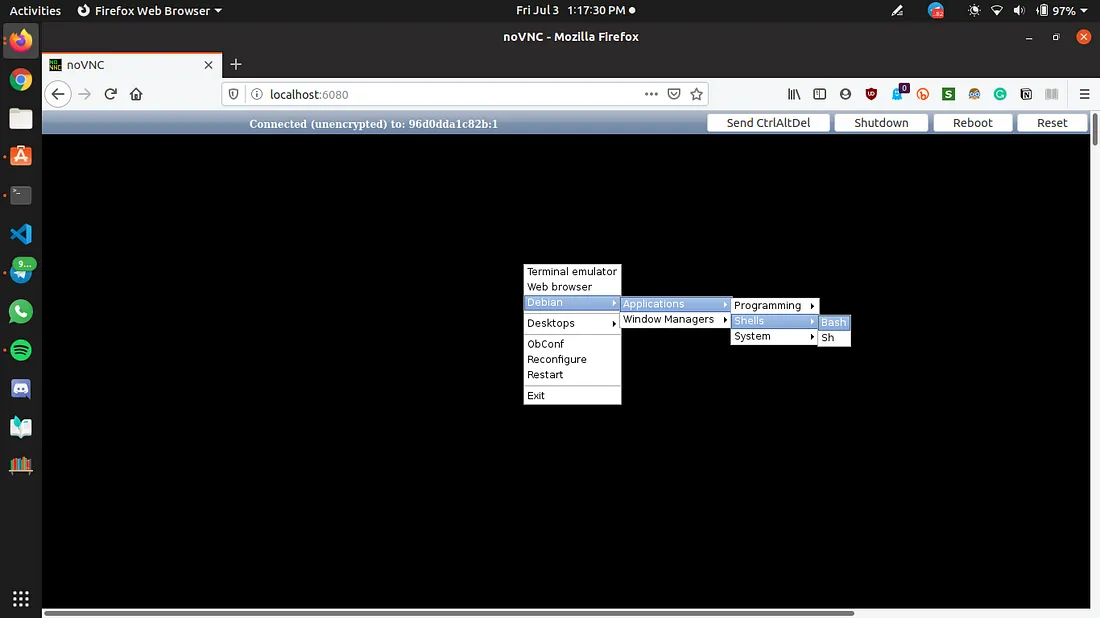
sudo docker run -d -t -i -p 6080:6080 apsychogirll/kalibrowserb. Checkout the address http://localhost:6080 and you’ll see a working kali container UI.
- If you want to modify things in the Dockerfile and add few more packages or simply laugh at how I code
a. Clone the Dockerfile and startup.sh script
b. docker build -t <your_kali_image> .
docker build -t kalibrowser .c. Now that image is built, time to create a container out of that image
docker run -d -t -i -p 6080:6080 kalibrowser
d. At this point you should head out to browser and Checkout the address http://localhost:6080. It should be up and running
Note If you made few changes in the dockerfile and now want to publish a version of your own docker image, follow along
a. Navigate to Docker Hub create a Docker ID and select the personal subscription.

b. Using docker login from the CLI, sign in using your original Docker ID and pull your private images.

c. Tag your private images with your newly created Docker ID using:
```bash
docker tag kalibrowser:v1 apsychogirll/kalibrowser:v1
```

d. Using docker login from the CLI, sign in with your newly created Docker ID, and push your newly tagged private images to your new Docker ID namespace.
```bash
docker push apsychogirll/kalibrowser:v1
```

e. The private images that existed in your previous namespace are now available in your new Docker ID namespace.
OR Better refer the docker official documentation :P